DIY Kids Room Make Over - Featuring Nippon Paint Momento Series!
Assalamualaikum and Olla everyone!
As I was on my way back from the Nippon Paint workshop, I couldn’t wait
to start the makeover process for my daughter's room. Then.....the weekend
came, weee hoooo! I put on my overalls, pulled my hair back and started
planning for the makeover. I asked my husband help to purchase Nippon
Paint Washi Tape, but he accidentally dropped it off
somewhere hahaha.. It did not stop me from pursuing the project
though.
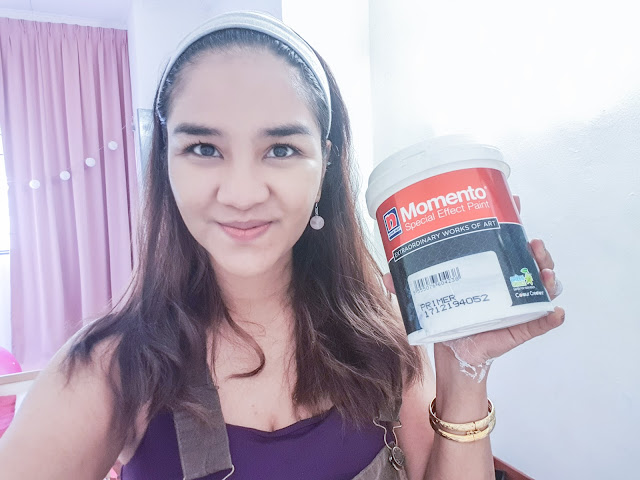
The first step is to prime the surface and then wait for it to dry. You
have to wait for around 2 hours to ensure that the primer is really dry. If you
are using the Nippon Paint Enhancer series, you have to start with the 5200 Interior
Sealer instead of the Momento Primer.
The bald guy is responsible for misplacing my much-needed washi tape,
lucky his smile is cute. Now, I have to rely on my not-so-steady hand to ensure
the end-to-end of the walls plus the corners are neatly painted. Don't give up
hope and be focus on your goal. If you really want to get things done, don't
let the small things stop you, okay?
The next step is to paint the first layer of colour. What I like about
Nippon Paint is that the paint has no smell at all, gone are the days where you
have to endure the suffocating paint smell. I also have to mention that the
paint is very pigmented with just one coat, I can achieve the colour that I
want. You can always put a second coat if you want an even darker coverage. But
do remember to wait for it to be completely dry before putting on the next
layer.
The first layer is up! Even with that it already gave the room a dash of
refreshing colour.
Since I don't have the washi tape, I decided to opt for the stencil
technique. This is one of the methods I learned at the workshop. All you need
is a cutting tool and the stencil paper (I used a transparent film). Then, just
draw your desired pattern and cut around the outline of your desired shape!
The next step is to put the stencil up and then paint inside the shape
itself. I am using the criss-cross technique to apply the Nippon Paint
Momento Textured Series paint for that special effect.
To make it even more fun and personalized, I decided to create random stardust
in between the stars. You can be as creative as you want. I forgot how
therapeutic it is to be playing with brushes and paint. It is actually a very
fun experience!
We are done! I think it makes a big difference in my kids’ room. Both of
them seem to be happy with this makeover done by mummy. Their wall is no longer
boring and these two feature walls gave the whole room a boost of a new
look.
I felt so accomplished haha! It is the first thing they will see once
they open up their door. I am sure you can do even better and can even be more
creative than me.
For professional tips on painting and to check more details on Nippon
Paint, head to their website here. They have a direct
line for you to call and even have a live chat too! p/s : Can you spot the
Nippon Paint Blobby in my kid's plushie container? haha
Alright, we are at the end of this post. I hope it gave you some idea if
you would like to revamp your space. Paint really does wonder to an ambience,
and I hope you do consider the high-quality paint by Nippon Paint. Thank you so
much for spending your valuable time to read this. I did a video on this as
well and also included a bonus section where I did a mini room tour of my kids’
room. Do click play below if you would like to see it.
Till next blogpost, Blobby and me are signing off for
now!


Wahhhhh kreatifnya Illy. Kalau ksarie harus keras kejung tangan tak tau nak buat pattern apa hehehhheeheh. Tapi cat Nippon nih memang thorbaekkk kan. KSarie dah cat rumah 4 kali dalam tempoh 10 tahun, semuanya guna cat Nippon. Warnanya cantik. Yang paling penting tahan lama
ReplyDelete